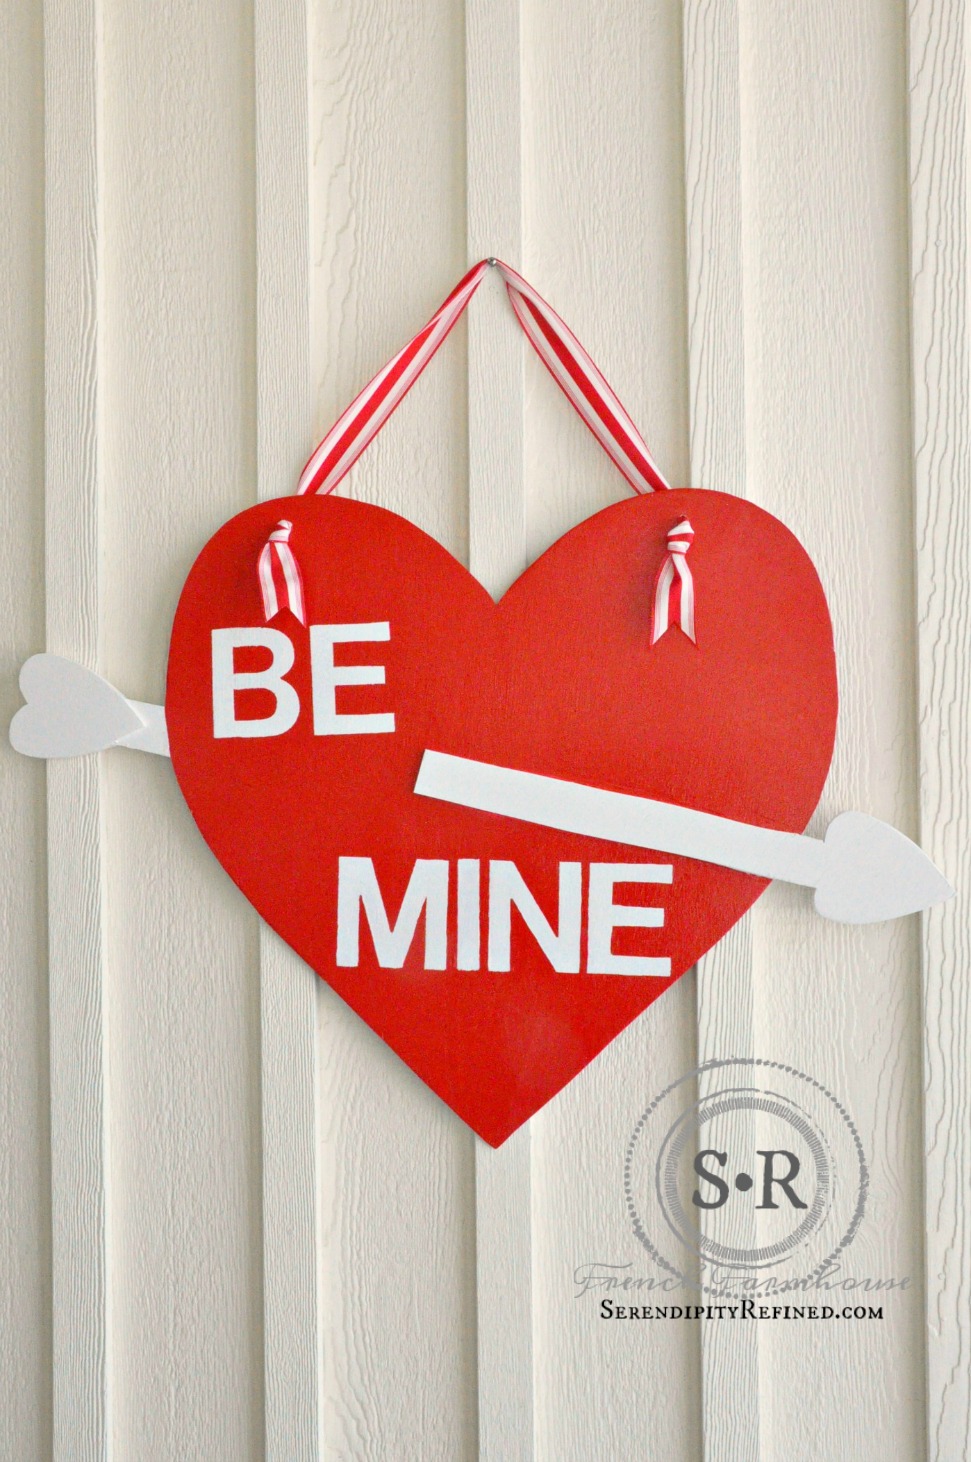
It has been forever since I've written a blog post and I don't even know if anyone besides my family and a few close friends is still here but if you're reading this, THANK YOU for sticking with me! I hope to be back to a more regular posting schedule this year. Before we get started on the tutorial, and because I "HEART" all of you, I wanted you to know that I had a stroke at the end of last year and I'm still recovering. I'm slowly returning to doing a little decorating and a few projects.
I thought that it was important to share this with you because I'm in my 50's, otherwise healthy, and active... just like everyone else. Stroke has no "age", sex, or race. It is the 3rd leading cause of death in the United States. I had untreated high blood pressure which I thought that I could control using only diet and exercise...I was wrong! If you or someone you know has high blood pressure or you suspect that you/they do, PLEASE, as someone who has been there and lived to tell about it, SEE A DOCTOR!


Materials:
- 1/3 sheet of 1/4" plywood (3/8" would probably have been better but I had 1/4" on hand)
- Red and white latex gloss paint. I used outdoor paint but acrylic would work if the heart is used indoors or if it is sealed with polyurethane.
- Poster board or paper for the pattern
- Wood glue (or construction adhesive)
- Ribbon or wire for hanging
- Scissors
- Pencil and/or Marker
- Ruler/Straight Edge
- Jig Saw
- Drill with 1/4 inch bit

Directions:
Using poster board, create pattern as follows:
- Fold poster board in half and draw 1/2 of a heart with the center line along the fold. Dimensions in photo above to be used as a guide.
- Draw and cut two (or one) smaller heart using dimensions in photo above above as a guide.
- Draw and cut one straight piece (I taped two pieces together to get the final length).
Using wood glue, assemble the arrows by placing one heart with the straight part and one heart for the back end of the arrow on the top of the board. Clamp and glue as shown. Repeat for the opposite side.
Paint the heart red and allow it to dry. Paint the arrow white. Stencil or free-hand in white "BE MINE", "LOVE YOU" or other words of your choice.
To hang, the heart, drill a hole in the top of each side, add a ring, and hang with sturdy ribbon, wire, fishing line or other material of your choice.
I hope that you like this simple pattern for a DIY, vintage style wood Valentine's Day heart decoration. As always, I'd love to see yours if you decide to make one and if you have questions or comments, please don't hesitate to let me know.
Thanks for reading!
Kimberly


