Today we're making a replica of one of my favorite ornaments from my childhood: this felt horse head candy cane cover. Let me answer one question before we start: Why does it say "No Sew: when the photo shows stitching? The answer: I chose to stitch mine. The original was made using glue. It was lime green, a red rick rack "mane" and a gold rick rack harness. I've updated mine just slightly so that it better matches my style.
Materials:
1 - 8 x 10 inch piece of white felt (I used wool felt)
2 - 8mm black sequins
2 - 6/0 black glass beads
1 candy cane
10 inches gold cord
2 - star fasteners or star sequins
Approximately 16 to 18 inches of 1/8 inch leather ribbon (or other ribbon for harness)
6 inches of white fringe trim
Pattern below (right click the image, save to your computer, print)
Tools:
Embroidery needle (optional)
Black thread (optional)
White embroidery floss (optional)
*For the no sew version, use either hot glue or a combination of fabric and craft glue
Scissors
Directions:
Print the pattern. Cut 2 of the head and 2 of the ear.
Lay the two head pieces on top of each other. Glue (or stitch) a sequin onto each side and a bead on top of each sequin for the eyes.
Beginning slightly to the left (toward the nose at the top) of the ear, place the fringe trim between the two head sections. Trim the fringe so that it ends at the bottom of the head at the point where it curves to form the neck opening. Tie a hanger from the gold cord and place it between the head sections just behind the ear.
Glue (or stitch) the head sections, the hanger, and the mane together making sure to leave the bottom of the head open for the candy cane.
Cut one piece of leather ribbon 5 1/2 inches long and one piece 9 1/2 inches long. Beginning on one side of the nose, glue the "reign" across the nose. Stop gluing at the point where the neck bends. loop the "reign" piece around the head at the neck and glue the same portion to the other side of the nose with the ends meeting at the top of the nose.
Beginning about an inch from the top of the nose, glue the harness/bridle to the head, looping it around the head just behind the ears and meeting at the same point on the other side. Trim if needed. Glue a star bead at the point where the two pieces meet. Insert candy cane.
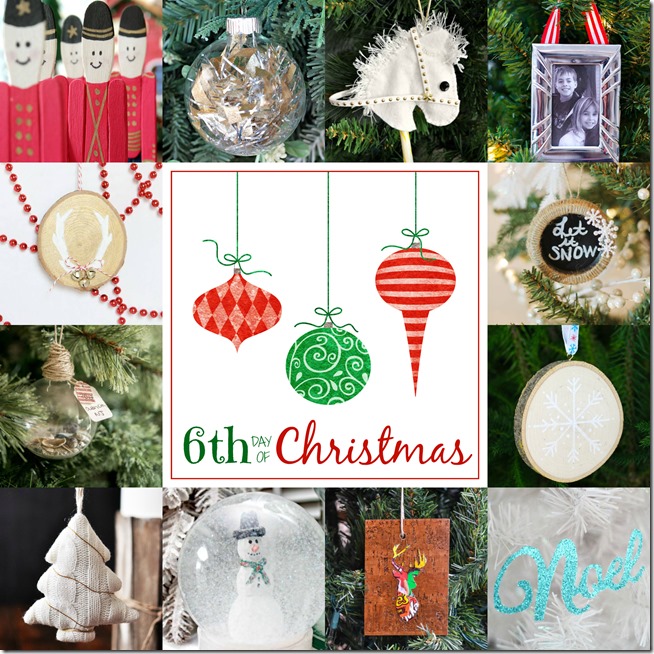
Don't forget to see what the Christmas ornament bloggers have been up to by clicking the links below.

Popsicle Stick Soldier Ornament | Remodelando la Casa
Tinsel Filled Ornament | The Happier Homemaker
No Sew Felt Horse Head Candy Cane Cover | Serendipity Refined Me
Picture Frame Ornament | It All Started With Paint
Reindeer Antler Wood Slice Ornament | May Richer Fuller Be
Mason Jar Lid Chalkboard and Jute Ornament | Thrifty and Chic
Travel Keepsake Ornament | Bigger Than The Three of Us
Painted Snowflake Wood Slice Ornament | All Things G&D
Wire Wrapped Christmas Tree Ornament | Cherished Bliss
Homemade Snow Globe | Mom 4 Real
Woodland Reindeer Ornaments | Whats Ur Home Story
Glitter Noel Ornament | Lovely Etc.
This simple no sew horse head candy cane cover ornament is such a fun reminder of my childhood. Even if you don't use the "no sew" approach, it's a pretty simple DIY that can be customized to fit any color scheme...I may just make some red and white ones too! I hope that you'll stop by tomorrow for a super easy ornament based on my son's favorite holiday book.


